How to Dimple Your AR-15 Barrel For Your Gas Block
Posted by 80-Lower.com on Oct 29th 2024
If you were looking up how to build an AR-15 upper, or how to install a new gas block, you might've come across this topic: Does your AR-15 barrel need dimples for the gas block's set screws? What is dimpling, anyway? Let's cover it.
What Are AR-15 Barrel Dimples?
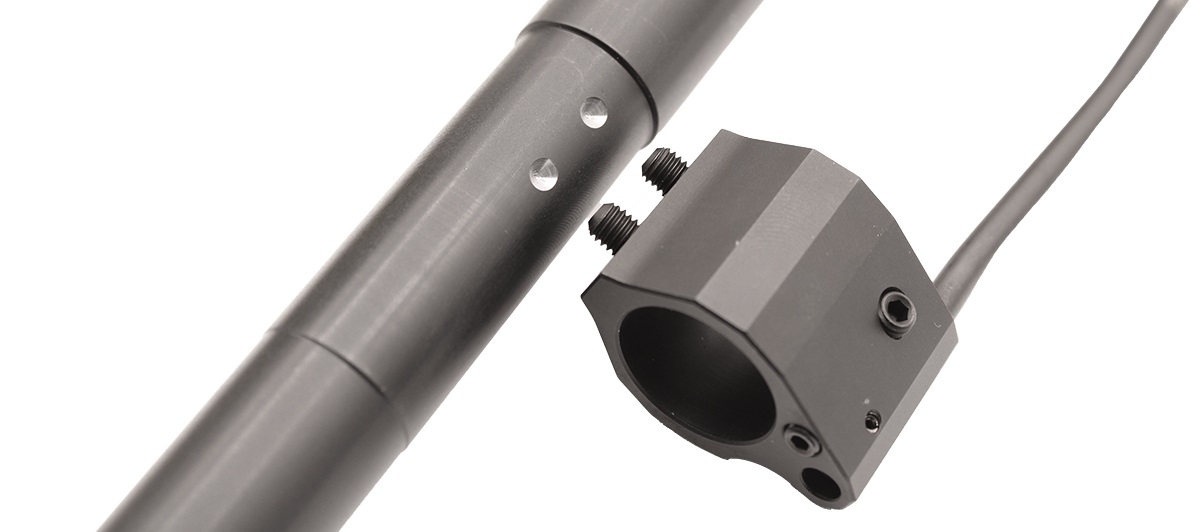
Barrel dimples are small indentations made on the underside of your AR-15's barrel. They're intended to provide a recessed space for your gas block's set screw(s) to rest. Basically, they help prevent the set screws from shifting.
Barrel dimples also help align your gas block's port with the gas port in the barrel. This ensures the gas tube is being fed properly, allowing your AR's bolt to cycle reliably.
Are Dimples Necessary?
No, but it's recommended. Some barrels come with a gas block, and these two-for-one units typically use a roll pin to secure the block to the barrel. But if you're building a custom AR-15 and buying a barrel and gas block separately, chances are virtually zero that the block and barrel will secure with a compatible roll pin.
In this case, you can simply tighten the block's set screws against the rounded face of the barrel. Chances are, you'll be fine -- but this isn't the most reliable method for securing the gas block. Over time, the screws can shift, causing the gas block to move. And this installation method doesn't guarantee the block and barrel ports are aligned.
Dimpling eliminates both of these issues. Thankfully, this is an easy thing to do -- all you need is a jig, and an electric drill with a drill bit.
How to Dimple Your Barrel
First, find a good dimpling jig. It's best to invest in a jig with different hole patterns -- this ensures that no matter which gas block you buy, you're guaranteed to get a proper fit.
#1: Get a Dimple Jig
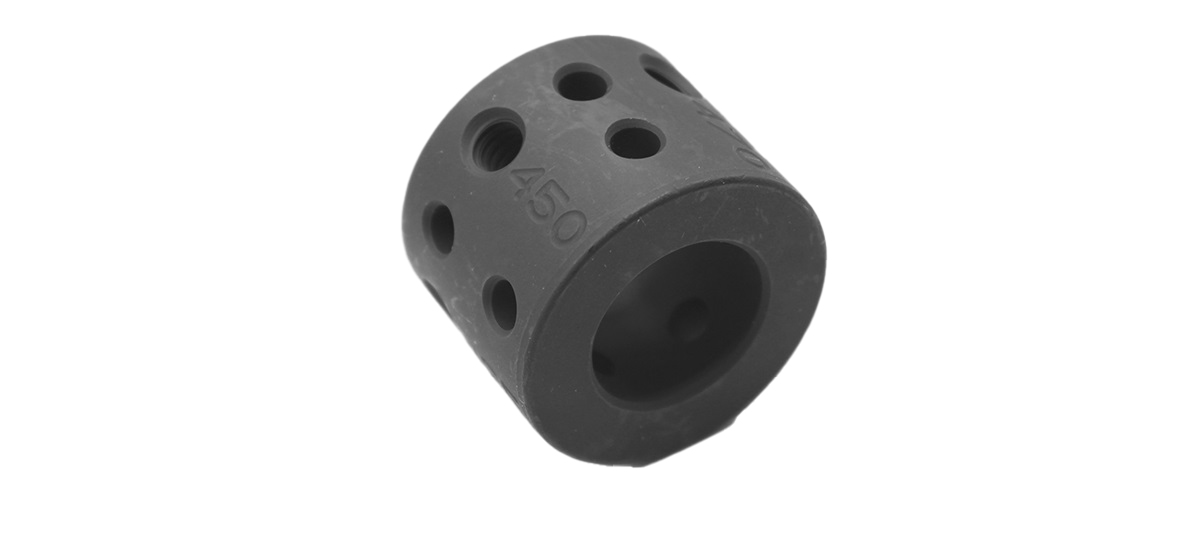
This "multi-position" dimple jig from KAK Industries provides hole patterns for almost all the most popular gas blocks on the market. It also comes with opposing gas port set screw holes to secure the jig while drilling, ensuring the dimples you drill will align the barrel and block ports.
Again, you'll need an electric drill and an appropriately sized drill bit for this. It is strongly recommended you use a high-speed steel (HSS) bit for this project, as your AR's barrel is made from forged steel. Your dimple jig may or may not come with the necessary drill bit.
#2: Identify Your Gas Block's Hole Pattern
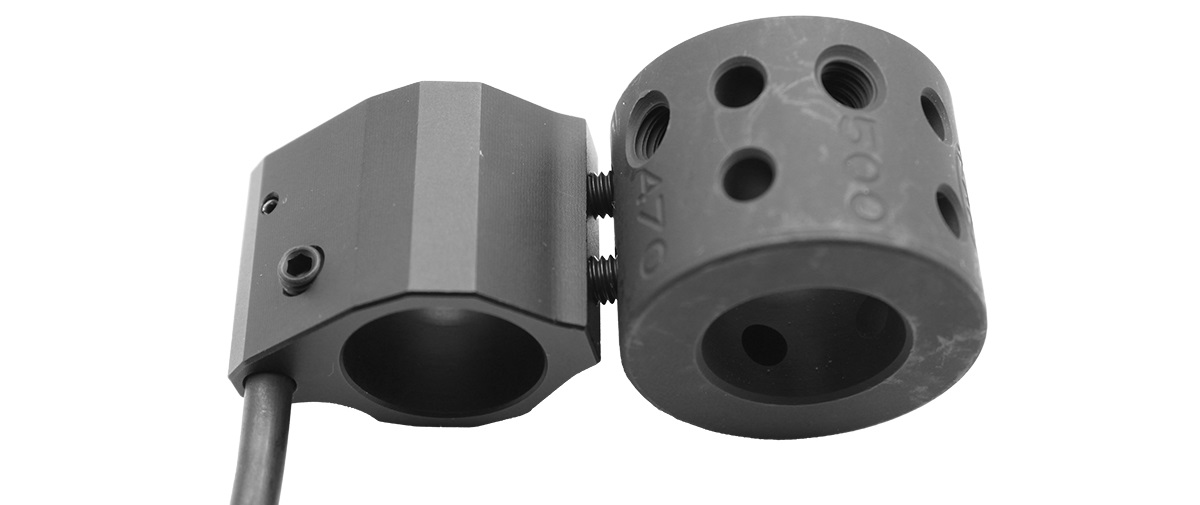
No measuring tools are needed, here. The easiest way to identify your gas block's hole pattern is to simply thread the set screws into the gas block.
Then rotate the dimple jig and align each hole pattern with your gas block's set screws until you find a match. Once you've found the correct hole pattern, mark that part of the jig with a crayon or wax pen. Be sure to also mark the gas port set screw hole on the opposite side of the jig.
#3: Install Dimple Jig w/ Gas Port Set Screw
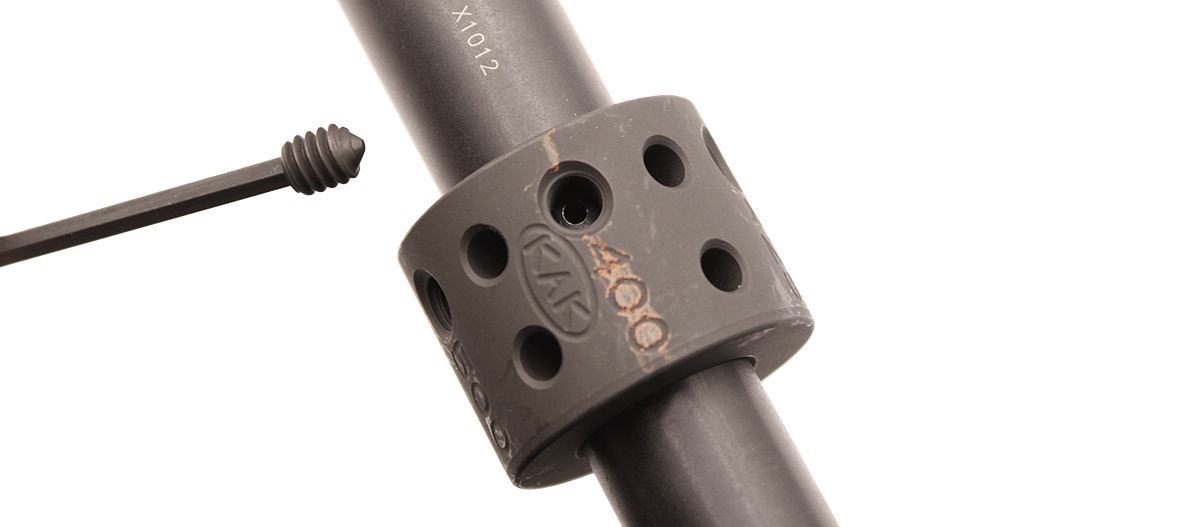
With our hole pattern and gas port set screw holes clearly marked, we can install the dimple jig onto the barrel. Align the set screw hole with the gas port in the barrel, then install and hand-tighten the provided set screw to secure the dimple jig to the barrel.
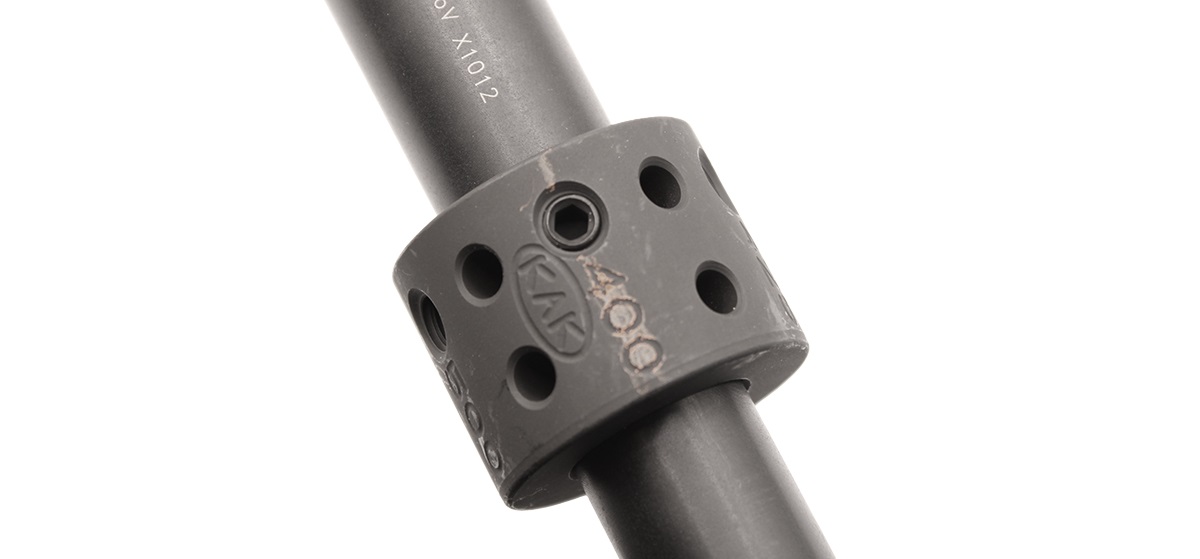
IMPORTANT: Do not over-tighten the gas port set screw! Over-torquing this screw can "mushroom" the opening of the gas port, ruining your barrel. Only tighten the jig enough to prevent it from rotating or sliding.
#4: Drill The Dimple(s)
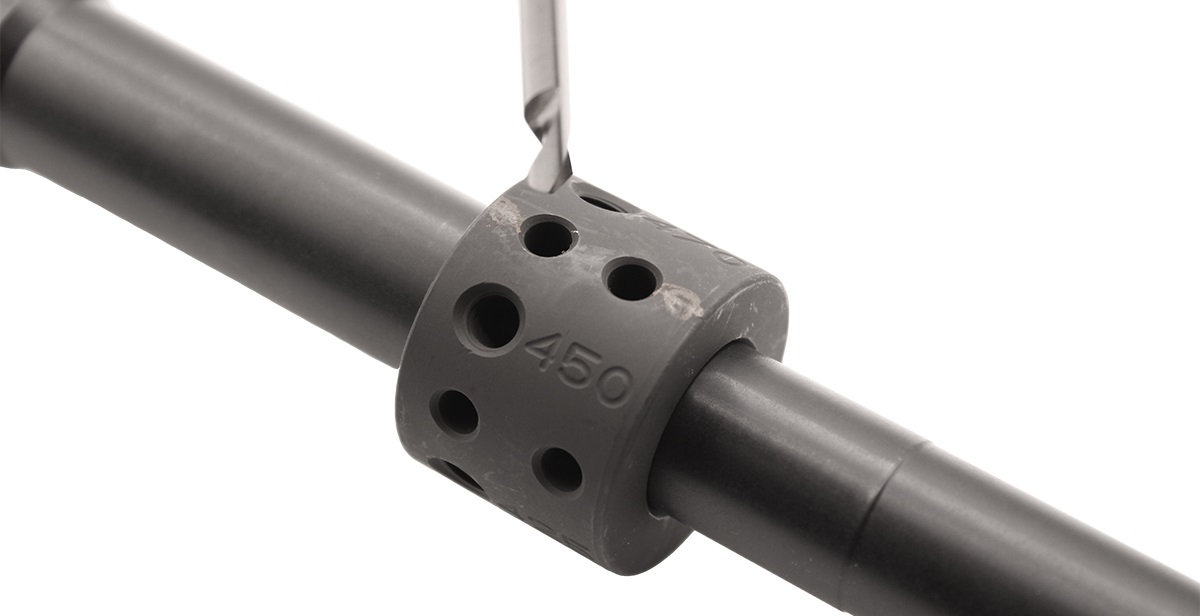
With the jig aligned and secured to the barrel, it's time to drill.
BEFORE BEGINNING: If you plan on changing to a different gas block in the future, you may opt to drill just one dimple. This will preserve space for your to swap your gas block for a different block with a potentially difference set screw hole pattern.
We're confident in our gas block, so we're drilling both set screw holes.
TIP #1: When drilling, go slowly, and stop frequently. Regularly clean the jig of metal shavings, and inspect the dimple as you work. Take care not to drill too deep into the barrel.
TIP #2: The dimples should be shallow; they only need to be drilled deep enough to allow space for the very tips of your gas block's set screws. When finished, the diameter of each dimple should be slightly smaller than the diameter of your gas block's set screws.
#5: Remove Jig, Install Gas Block
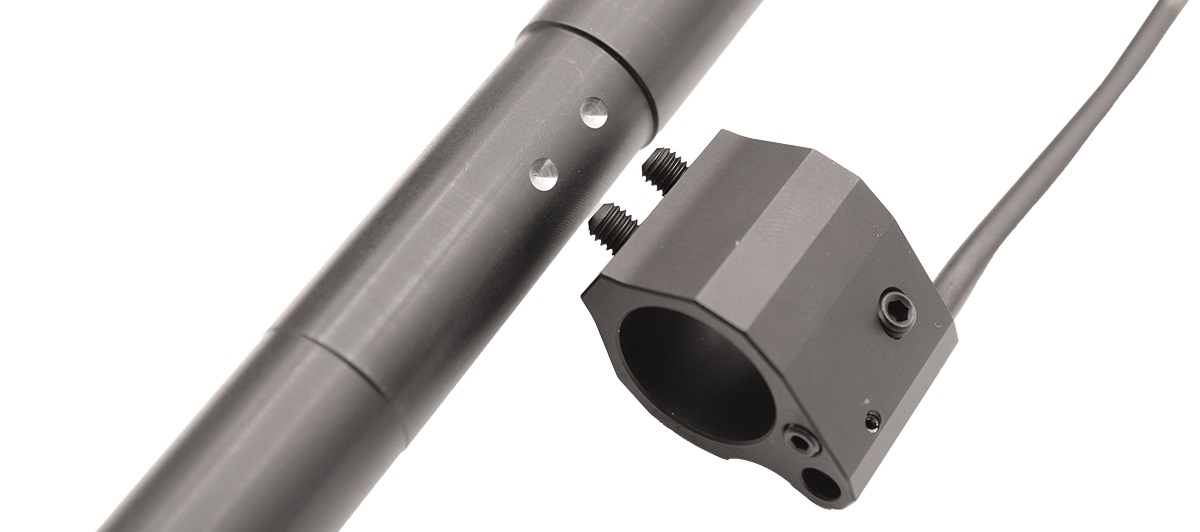
Once you're finished drilling, loosen the jig's gas port screw and remove the jig from the barrel. Inspect the dimples you just drilled, and test their fitment by placing the heads of your gas block's set screws inside each dimple to ensure a proper fit.
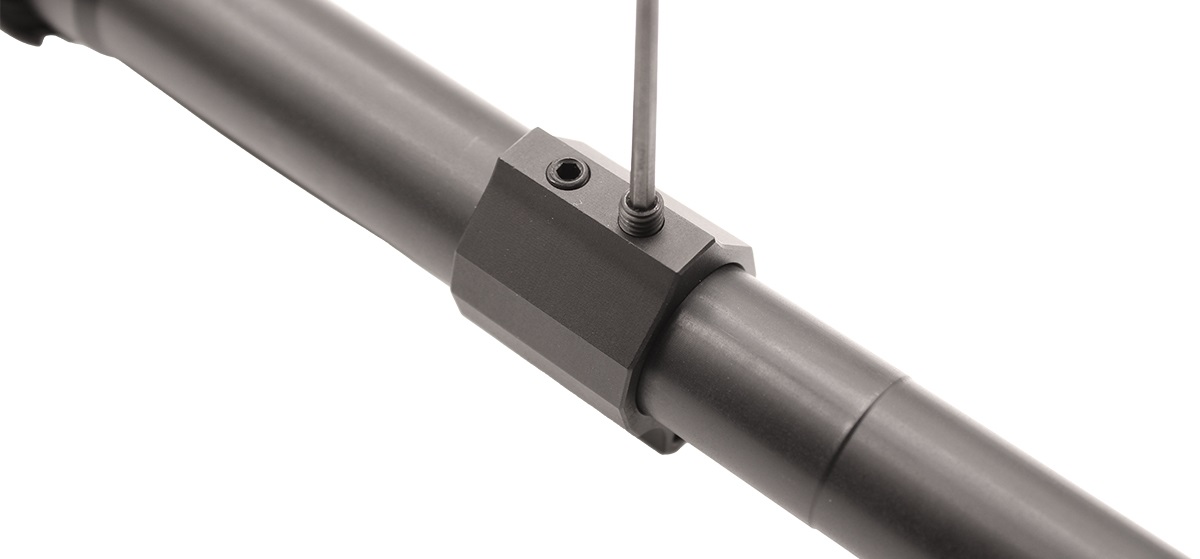
Finally, install the gas block on the barrel. Verify proper alignment of the gas tube with the bolt carrier group's gas key inside the upper receiver. Once alignment is verified, thread and tighten each set screw. You may use a high-temperature thread locking compound as an added measure against the screws backing out from live fire.
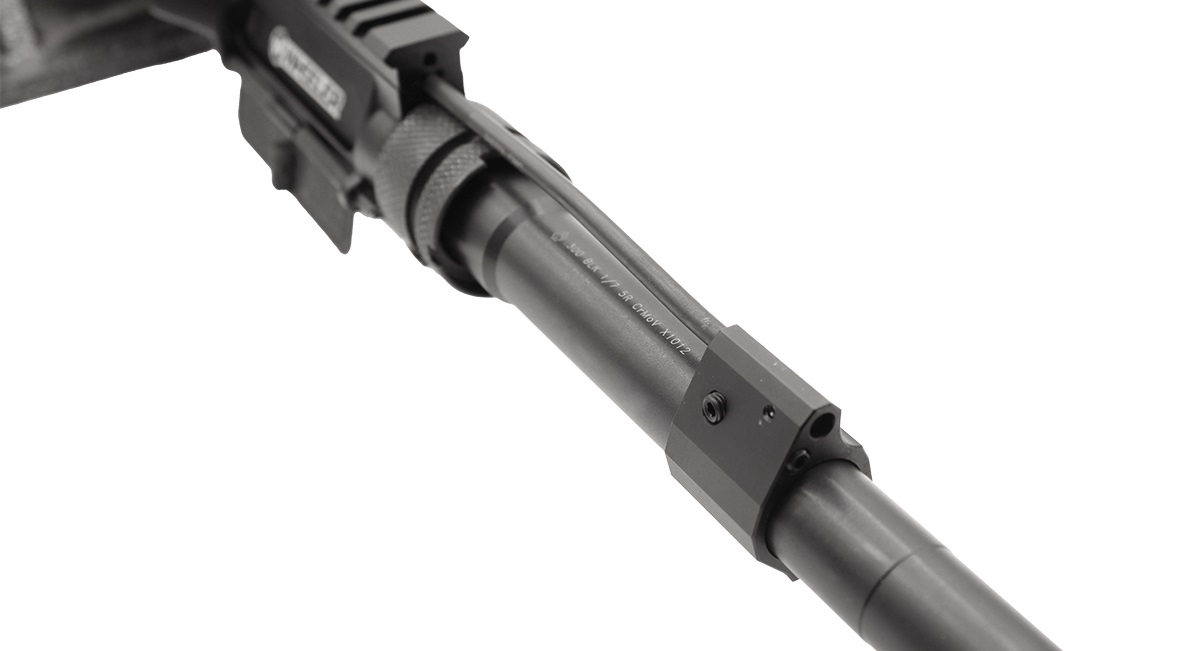
With your gas block's screws tightened, you're finished! Throw your handguard on, reinstall your bolt carrier group and charging handle, slap your upper on your lower, and hit the range knowing you've got a properly installed gas block.
Need help building your upper? Read our instructional guide!
DISCLAIMER: If you are new to the world of DIY gun building, you likely have a lot of questions and rightfully so. It’s an area that has a lot of questions that, without the correct answers, could have some serious implications. At 80-lower.com, we are by no means providing this content on our website to serve as legal advice or legal counsel. We encourage each and every builder to perform their own research around their respective State laws as well as educating themselves on the Federal laws. When performing your own research, please be sure that you are getting your information from a reliable source.

