How to Customize Your AR-15
Building an AR-15 is already the choice for most owners. The weapon platform designed by Eugene Stoner was made to be modular and customizable. But once you’ve put together the standard rifle or pistol (either from a kit or off the gun store shelf), how do you make it your own? What are the best upgrades and top customization categories to go after first? Let’s take a look. These recommendations are provided by a veteran shooter and AR builder with around six black rifles built and modified so far.
Best Customization For Your AR-15
1. Drop-in Triggers
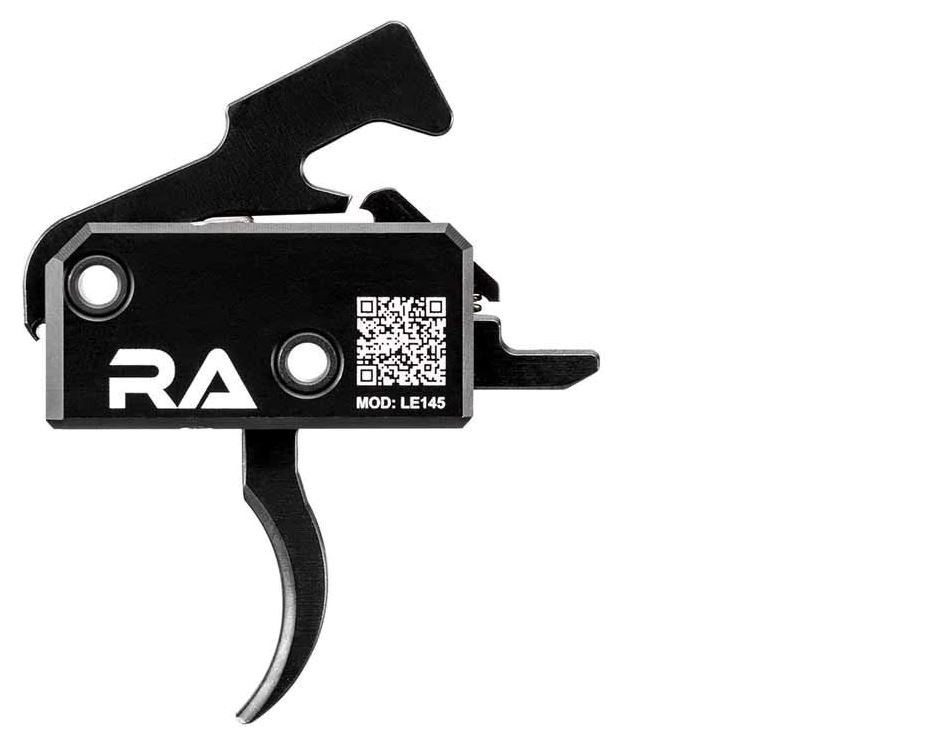
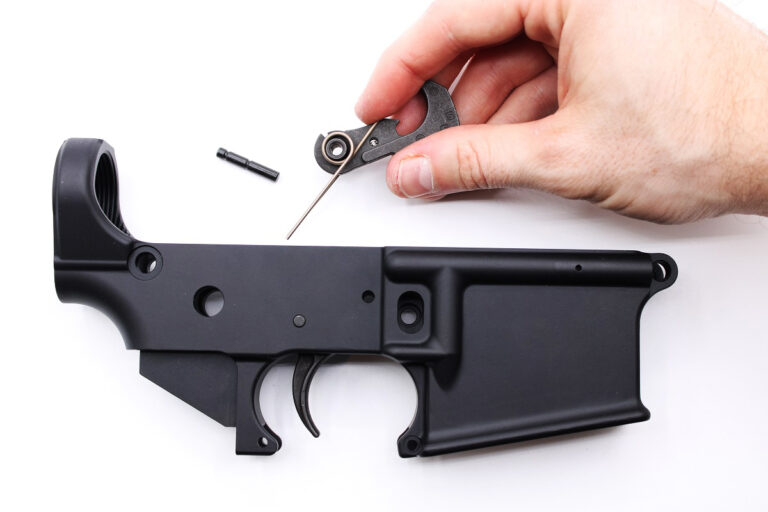
A drop-in trigger can immediately transform your rifle or pistol and yield better accuracy. As the name says, these trigger kits are single, drop-in units. That means there aren’t any springs, disconnectors, or hammers to fidget with.
How to Install
Just remove both retaining pins for the factory hammer and trigger in your receiver. Then drop the new trigger in, and reinsert your pins. The job takes about five minutes and will drastically change how you shoot.
Advantages / Benefits
A drop-in trigger is one of the most effective upgrades you should invest in first. It provides a big improvement in performance with a small investment and little to no physical effort. An upgraded unit (like the LE145 from Rise Armament above) eliminates the things that normally affect how well a trigger works:
- Take-up, which describes the slack felt in a trigger before springs provide tension.
- Creep, which is the distance the trigger travels before the hammer falls.
- Over-travel, which is how far the trigger travels past the hammer breaking.
- Reset, which is how much the trigger must travel back before it can be pulled again.
These four factors, plus trigger pull weight, all contribute to poor accuracy by ruining your trigger squeeze. Drop-in triggers are crafted with tight tolerances, adjustable or low pull weights, high-performance alloys, and springs that produce a shorter, cleaner, and more consistent trigger pull.
Need help? Here’s how to install a trigger and lower parts kit.
2. Custom Buttstocks or Braces
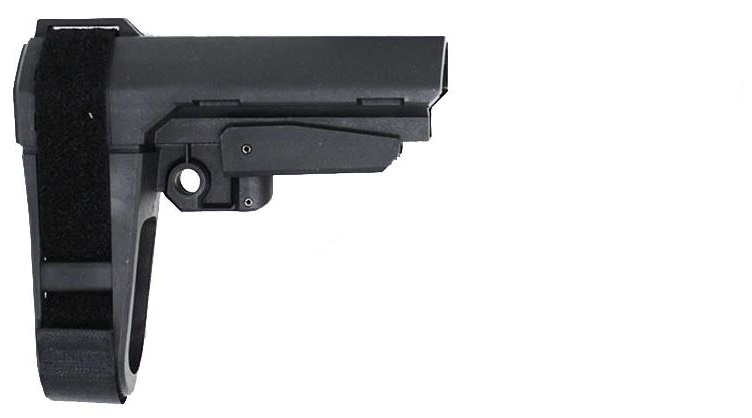
This upgrade holds especially true for new AR pistol owners: Invest in a more comfortable buttstock or pistol brace to improve your sight picture and performance. Trying to get a cheek weld on the naked buffer tube of an AR pistol is uncomfortable, if not almost impossible. And managing recoil by digging the end of that tube into your shoulder’s no good. Rifles almost always come with the typical M4-style, six-position buttstock. While it’s a good performance, it has no padding.
How to Install
Installing a new stock or brace is even easier than installing a drop-in trigger. Just pull on the adjustment level to pop the retaining pin out of the buffer tube. Pull the original unit off, and slide your new one into place.
Advantages / Benefits
Most quality AR-type buttstocks run $40 to $70, while padded and adjustable braces can run $50 to $150, depending on features. It’s a small investment with no difficult install required, all for dramatically improving comfort and your shooting experience in general.
3. Angled Foregrip / Pistol Grip (Handguard)
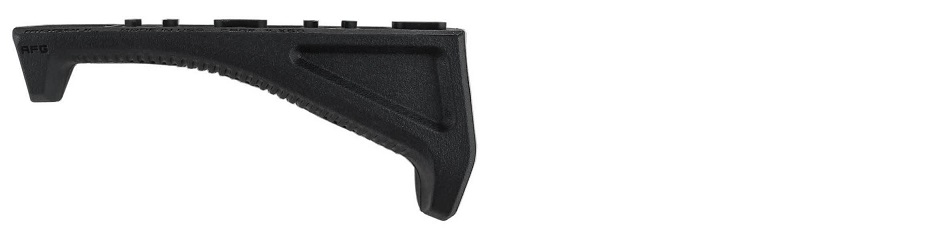
It may not look like much, and it isn’t. But installing an angled foregrip or forward pistol grip (for rifles only, see FAQ at bottom) on your AR’s handguard will allow your non-shooting hand to provide a much better grip while shooting. These grips are super affordable, at around $20 to $40, and they typically require one or no tool to install.
How to Install
Getting a grip installed is easy. Just pick the right handguard attachment system (M-Lok, KeyMod, or Picatinny). Each rail system uses a similar set of clamps and bolts to fasten accessories to the handguard. The M-Lok Angled Foregrip from Magpul above, for example, uses two simple Allen-head bolts and an Allen key.
Advantages / Benefits
A forward grip allows your non-shooting hand to provide much more stability and control while shooting. This reduces muzzle rise and felt recoil, allowing for quicker follow-up shots while staying on target with your sight picture. If your handguard gets hot or is made from anodized aluminum, a polymer grip will insulate your hand and reduce the risk of getting burned, too.
4. AR-15 Slings
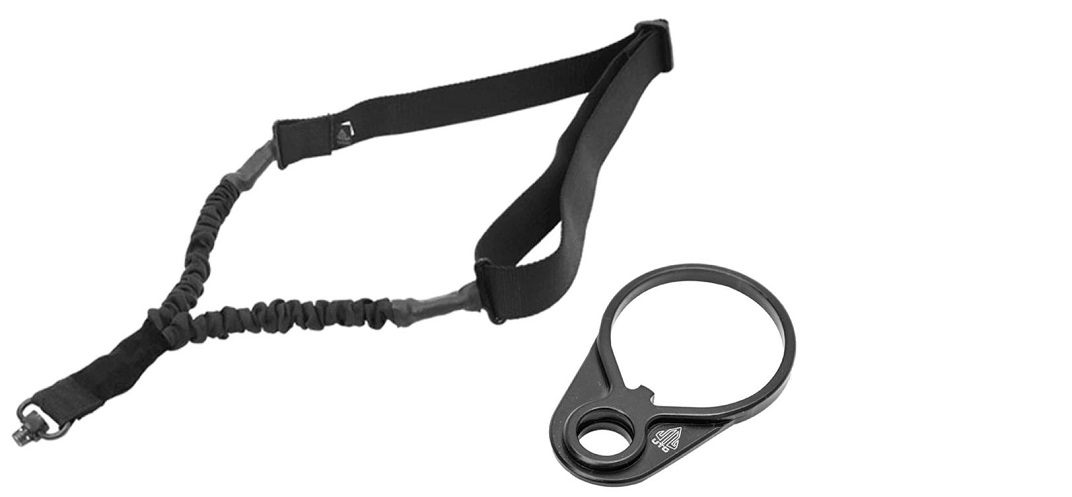
A simple sling is basically a requirement for any AR-type rifle. Virtually every buttstock and receiver comes with a default sling attachment, so slapping on a single-point or quick-detach sling is a logical choice. You’ll want your hands free at your leisure; going without a sling quickly becomes inconvenient.
5. Upgraded Pistol Grips
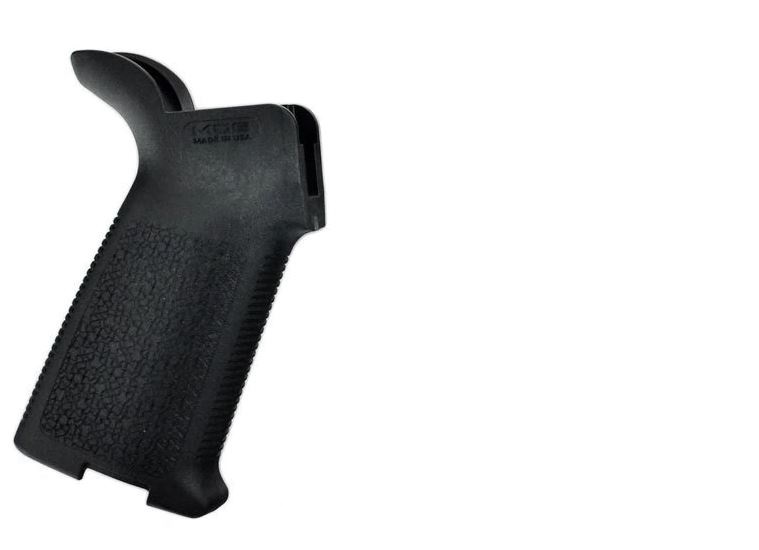
The angle of your trigger finger’s/shooting hand’s wrist plays a major role in trigger squeeze and comfort while holding sight picture. Some shooters find the AR’s factory grip angle uncomfortable, especially when shooting prone or from a bench or resting position.
How to Install
The AR’s lower receiver uses a simple threaded hole and a bolt for fastening the pistol grip. Swapping grips is easy: Just grab an Allen-head socket or screwdriver (depending on your grip’s factory bolt head) and remove the original grip. Replace with the new grip and bolt, and voila. The MOE Pistol Grip shown above also provides extra storage inside the grip itself.
Advantages / Benefits
The factory angle of the AR-15’s pistol grip may feel too acute for some. Depending on the shooter, this angle can stretch the wrist too far forward and put tension on the tendons and joints around the thumb. Investing in an upgraded pistol grip with a more vertical angle can eliminate this issue and, combined with a drop-in trigger, transform how your AR-15 feels.
6. Flip-Up Iron Sights
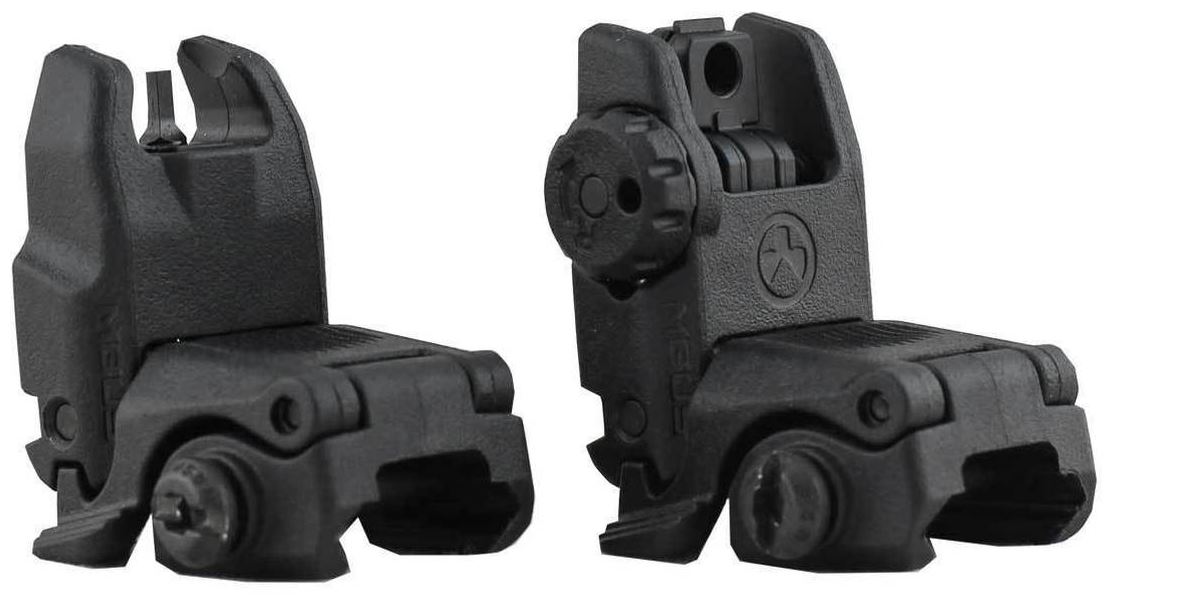
There’s a 99% likelihood that you’ll attach your AR’s optic or scope to the 1″ Picatinny rail on your AR’s upper receiver. While this makes for good accuracy at distance, the sight picture on your rifle or pistol will get obscured by your iron sights. That is, unless you grab a pair of flip-up irons like these Magpul MBUS units.
How to Install
Installing back-up irons is probably the easiest thing you can do, short of snapping a sling on. These irons just attach directly to your upper receiver and handguard via the Picatinny rails. M-Lok and KeyMod variants are available, too. Just tighten them down, and flip ’em up and down as needed.
Advantages / Benefits
Pretty simple, here: You won’t have to deal with factory iron sights blocking part of your sight picture and target. Upgraded irons like these also tend to provide better wind and distance adjustments. Lastly, flip-up sights won’t break. Just fold them down and they’ll withstand impacts and abuse. We’ve seen our fair share of busted factory front sight posts, and A2 rear irons getting crushed, snagged, and bent.
7. Upgraded Charging Handles
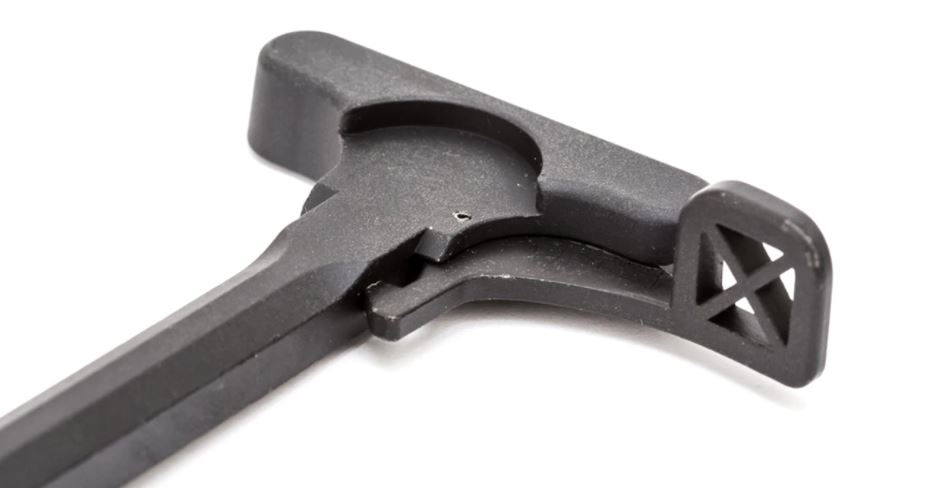
Lefties and shooters with big hands might find the AR’s default charging handle difficult to manage, especially if you’re running a competition or speed-shooting. An upgraded charging handle takes a few seconds to swap in and provides a nice ergonomic upgrade on the cheap. Most charging handles cost well below $75.
How to Install
Unless you’re a brand-new AR owner, you already know how to do this: Just pop open the rear takedown pin, separate the upper and lower receivers, and pull the charging handle and BCG out of the upper. Place the new handle in the receiver, and slide the bolt back into place. Snap the receivers shut and reinsert the takedown pin.
Advantages / Benefits
A simple oversized handle provides more space for your fingers to grab hold. It sounds like a minor upgrade, but it makes a big difference when you’re swapping your 4th or 5th magazine (or going dry on the range). This example only runs $20, while fancier options might provide dry lubrication, or a lever on both sides for ambidextrous charging. Some even have nose pads for an up-close sight picture/cheek weld.
8. Custom Finishes or Coatings
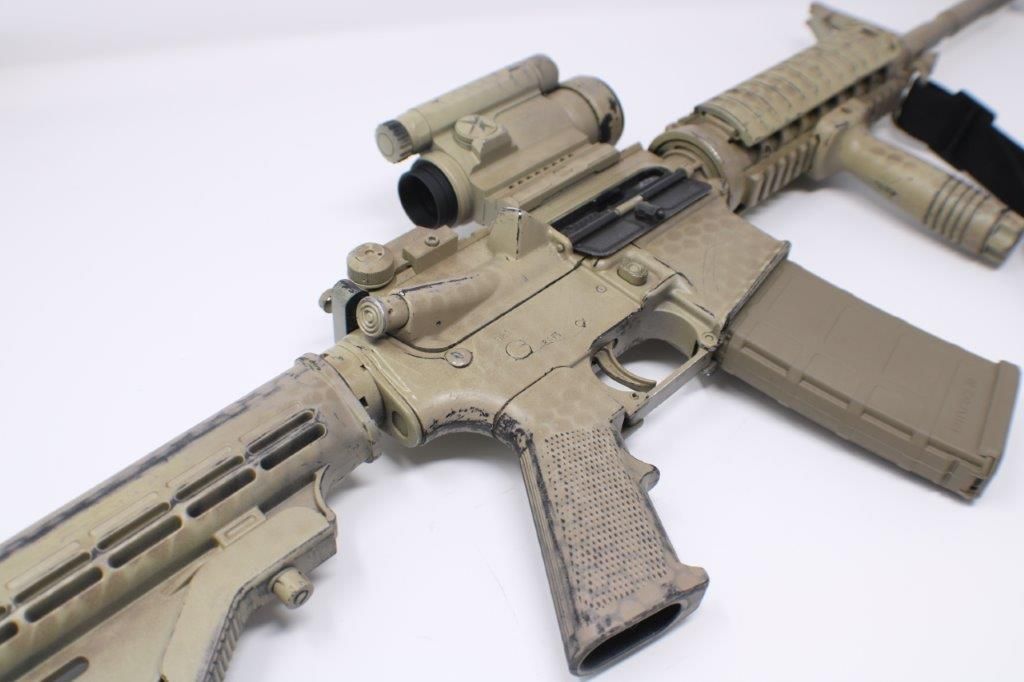
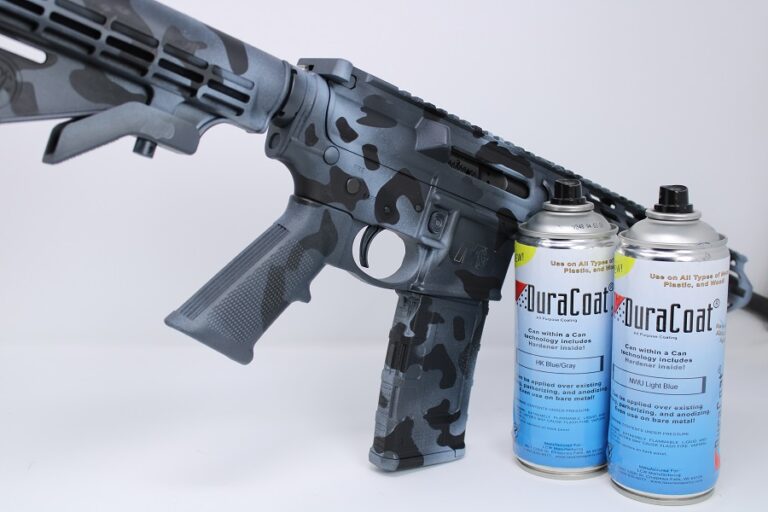
Nothing shouts “this is mine and it’s unique” like a custom painted finish or coating on your shiny new black rifle. At-home/DIY gun coatings like Duracoat and hydro-dipping can produce myriad colors and unique patterns on your rifle or pistol, like the Desert Tan “battle-worn” finish on the M4 clone above.
Here’s a very in-depth guide on custom AR finishes and how to apply ’em.
AR-15 Customization FAQs
Q: Which handguard/rail is best for attaching accessories?
A: M-Lok is the most popular rail system for customizing your AR with attachments. We wrote an in-depth comparison covering all three rails (M-Lok, Picatinny, and KeyMod), complete with some entertaining testing done by USSOCOM.
Q: What is a pistol brace?
A: A pistol brace is a stabilizing device made for AR pistols. It’s an alternative to installing a buttstock, which would make your pistol a short-barreled rifle (SBR). This would be illegal without an NFA tax stamp and Form 4 approval to own an NFA-class firearm.
Q: What kinds of drop-in triggers are available?
A: Drop-in triggers can be single-stage upgrades, which is how a factory trigger works. Two-stage triggers have an initial take-up/creep, with a final pull at a lower weight, similar to a hair trigger, that reduces travel and reset. Binary triggers provide rapid fire by dropping the hammer on the trigger’s pull and on the trigger’s reset. Binaries still offer semiauto fire with no second hammer drop. That means you get three modes of fire, so your safety lever will move to that third position normally reserved for full-auto.
Q: Why can’t I install a vertical forward grip on an AR pistol?
A: The ATF considers a forward vertical grip a device that, when installed on an AR pistol, converts that weapon into a short-barreled rifle (SBR). Under current regulations, only an angled foregrip can be installed on a pistol without converting it into an SBR.
Q: Do I need a new latch plate or mount for my sling?
A: If you built or bought a typical AR-15 rifle, the buttstock and front sight post (if an A2-type) probably have sling mounts installed. AR pistols don’t usually have mounts, since they use low-profile gas blocks and no buttstock. In this case, you’ll need to buy a handguard sling mount or latch plate for the buffer tube that comes with a sling stud.